
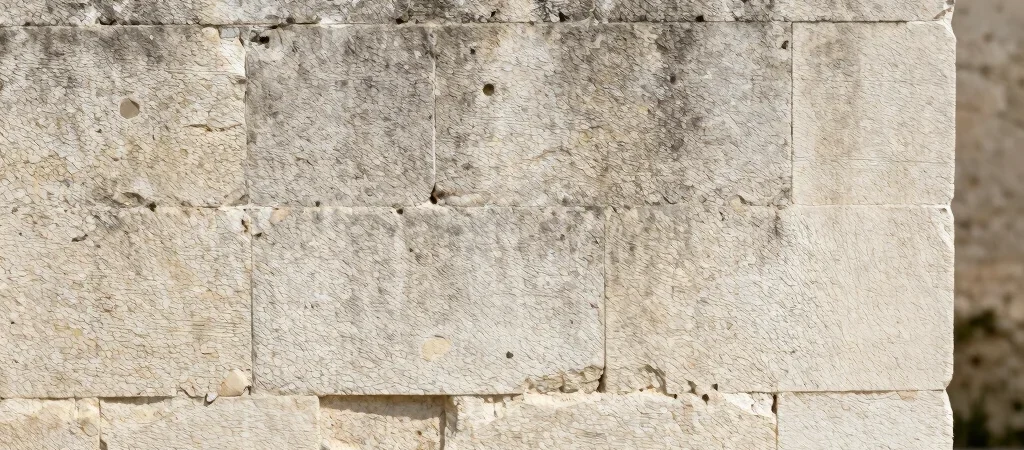
In villages around the Gironde estuary, limestone often catches the daylight before anything else does. Look closer, though, and a wall is not one uninterrupted surface: blocks, mortar joints, patched openings, and worn edges tell different parts of its history.
Read the joints first
The lines between stones can reveal how a wall was assembled and where later work has changed it. A neat, pale joint beside a rougher repair is not proof of a particular date, but it is a reason to ask what was altered and why.
Lime-based mortar is part of the traditional building vocabulary in many historic masonry structures. Its suitability depends on the building and the existing materials, so a repair should not be chosen from appearance alone. Matching the wall’s needs matters more than making every joint look new.
Repairs should respect the wall
Conservation begins with observation: where does water collect, which stones are deteriorating, and where has an earlier intervention changed the surface? These questions help distinguish routine weathering from a problem that needs specialist attention.
A hard, conspicuous patch may draw the eye, while a quiet repair can preserve the character of the masonry without pretending the building is untouched. The right approach depends on the stone, mortar, exposure, and history of each structure. That is why careful assessment comes before selecting materials.
Notice the evidence outdoors
Next time you pass a limestone façade, look for the change in texture around a doorway, the depth of the joints, and the way rain has marked the lower courses. Those details are small, but they make architecture more than a backdrop: they show how people built, maintained, and adapted a place.